Attack & Battle
Battles are resolved the moment a fleet makes landfall, and they are deterministic: the same forces, bonuses, and walls always produce the same result. No dice. If you scouted and sent enough, you win.
 Raiding
 Colonisation RulesPlunder
 Intercept
 The Daily Chronicle
Preparing for War
War is won in preparation. A fleet without proper support will break before it reaches shore.
- Harbour: all ships are built here. Higher levels unlock stronger vessels and faster construction.
- Barracks: trains ground troops and siege weapons. Level 10 unlocks catapults.
- Research: Sailcraft unlocks large warships and merchant ships. The Warfare branch of the research tree strengthens troops.
The War Fleet
Every attack requires warships. Ground troops and catapults cannot sail on their own. They board warships as passengers. A well-composed fleet balances firepower, troop capacity, and speed.
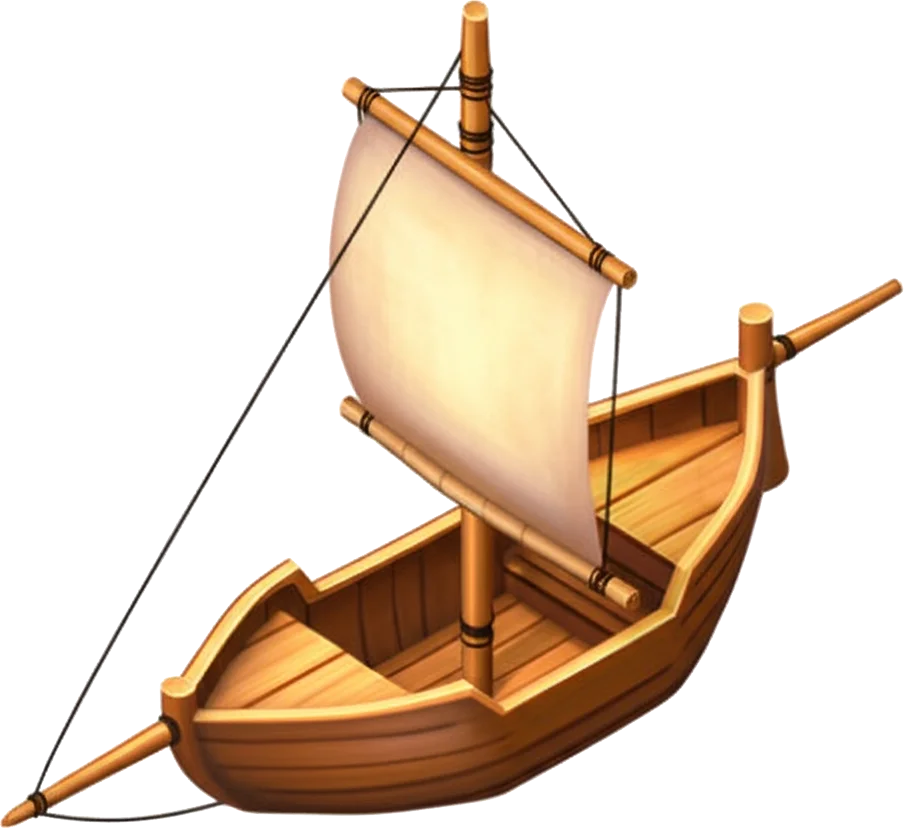
Fast, affordable, and available early. Carries 5 troops and light cargo. Ideal for scouting raids and early aggression.
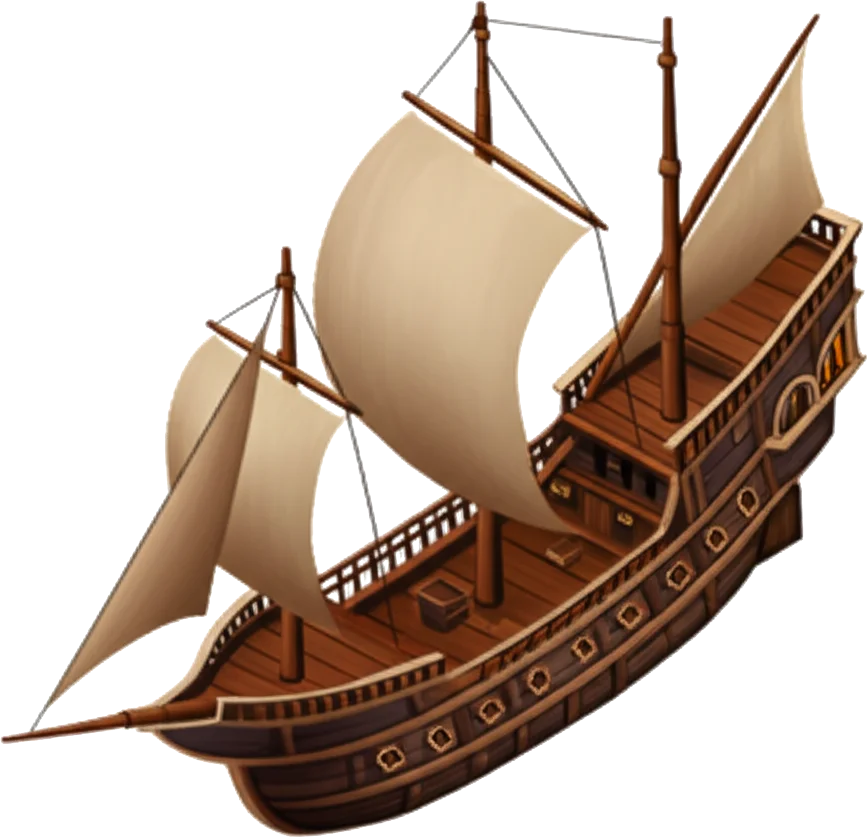
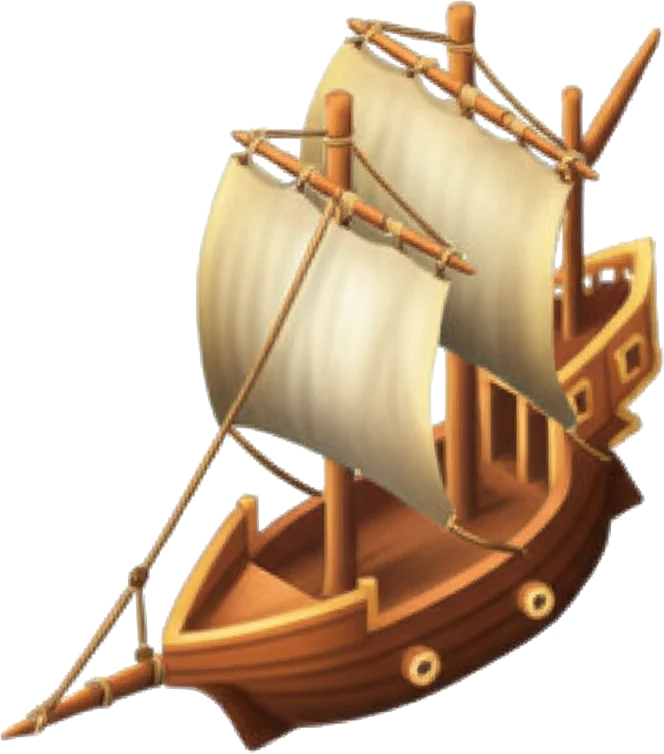
Heavy combat vessel unlocked by Harbour 5 and Sailcraft 3. Carries 10 troops and far more cargo.
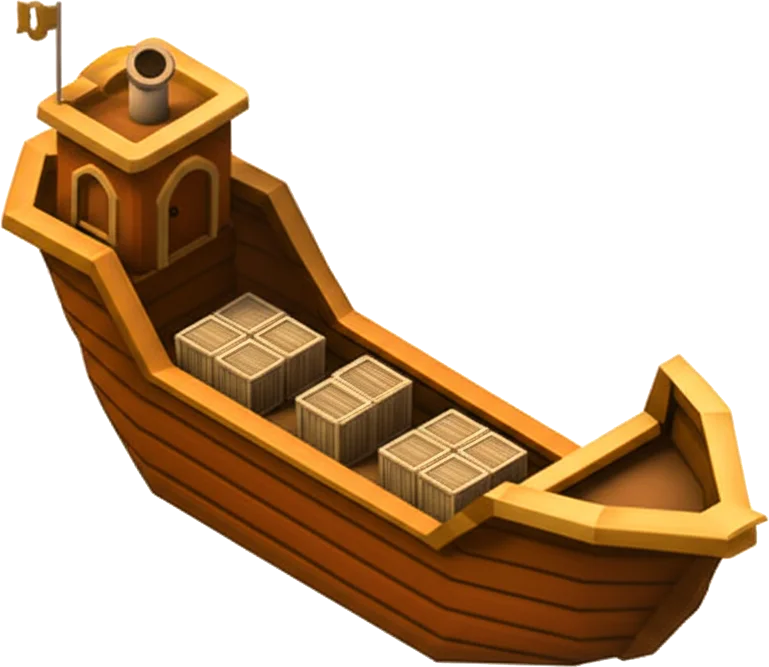
A specialized vessel required to found empty islands and complete the razing of broken settlements. It has 0 attack and should be escorted by warships. See Colonisation.

The order a landing resolves
When your fleet reaches the shore, the whole engagement settles in one moment, in a fixed order, with no waiting between the steps. Knowing the order tells you exactly what a battle report is showing you, top to bottom.
- Arrival checks. An ally or a friend cannot be struck at all — the harbour refuses the order before the fleet ever casts off, whether you meant to attack, plunder, colonise, or blockade them. What the shore is checked for on arrival is a reason the voyage has been overtaken: an alliance-mate who took the island while you were at sea, a Governor still under sanctuary, a shuttered isle. If one applies, the fleet sails home with no battle and no losses.
- The sea screen. If the defender keeps a patrol standing in its own waters, your warships fight it first, in the shallows, before a single soldier can land. Only the warships on each side fight here. A beaten escort is sunk, and if no troop-carrying ship lives through the screen, the army aboard drowns with the fleet. Whatever warships come through sail on to the clash. With no patrol standing, this step is skipped.
- The clash. Your fleet's whole attack strength meets the defender's whole defence at once: garrison, wall, and base-island defence weighed together. One comparison decides the winner. Apart from a patrol's sea screen above, there is no separate sea battle: ships, troops, and siege engines are all counted in a single total.
- Siege. Only if you won, and only if catapults survived, the surviving siege engines knock levels off the defender's buildings.
- Plunder. Last, the surviving fleet loads stores into its cargo holds and carries them home, up to whatever the Storehouse leaves unprotected.
So a won battle reads in that order: who fought, what it cost, what the catapults broke, what you hauled away. A lost battle ends at the clash: your ships are gone, and nothing is sieged or plundered. Colonisation and liberation slot in after a winning clash on their own terms, covered on the Colonisation page.
Striking from many harbours: a combined attack
A governor with several islands can send one strike from many of them at once. Open the target's Attack dialog, choose Combined, pick two to 8 of your islands (listed nearest the target first), load each fleet in turn, and review the battle plan before launching. Everything you enter is kept while you step back and forth — a big strike takes planning.
Sailing in convoy has to be learned. Convoy Masters (the seafaring line, Laboratory 12) unlocks combined attacks, and like every research gate the knowledge belongs to the island that studied it — every harbour you want to sail from must have it, not just the one you plan from. The same gate applies to committing a fleet to an alliance's coordinated attack.
You can open the Combined tab from any of your islands. The harbour list puts the islands that can sail at the top and the rest below under Cannot sail yet, each with its reason — the research not yet studied, no troops in the harbour, or no warships to carry them — so a plan is never built on a harbour that would be turned away at launch.
Once launched, the strike is one order, not many. Tap it anywhere — the orders bar, the Missions list, a fleet row — and the combined attack opens with every fleet listed and its state (mustering, sailing, returning), one shared landfall clock, and a single Recall Allthat brings every fleet home.
- Every fleet arrives at the same moment. The farthest (or slowest) fleet sets the pace and sails at once; nearer fleets wait in harbour and sail later, timed so all of them make landfall together. Each fleet's speed is still set by its own slowest ship.
- Units are committed when you launch. A waiting fleet is already mustered — its troops cannot be used elsewhere. It shows in your missions as mustering until its hour comes. A recalled fleet still in harbour refunds instantly; one already at sea turns around and sails home for as long as it sailed out.
- The defender's watchtower only sees fleets that have sailed. A waiting fleet is invisible: the closer your harbours, the shorter the warning the defender gets.
- One battle, one report. All fleets fight the clash as a single combined army, exactly as if the whole force had sailed from one harbour. Survivors return to their own islands, split in proportion to what each sent, and plunder is shared out by each returning fleet's surviving cargo space. Both sides get a single report covering the whole strike, with each fleet's account beneath it.
- Each fleet is recalled on its own. Every leg of a combined strike is an ordinary attack mission, listed and recalled like any other — so you can turn one harbour's fleet around and let the rest sail on. They will land at the appointed moment regardless, just lighter for it. Recall them all and the strike is called off.
- Against a creature, one blow. Each harbour loads the creature's own shot from its own stores, alongside the catapults to throw it. The fleets strike together as a single blow, which takes at most one mark off; the shot it did not need goes back to each harbour in proportion to what it sent. A fleet recalled before it lands brings all its shot home.
In the Missions list the strike shows as one entry naming every fleet and its own countdown; the orders bar above the map counts down to the shared landfall and shows how many fleets are already at sea.
Allied operations: the whole alliance strikes as one
Alliances take the same idea further. When a member marks an island as an Attack target on the alliance's Operations board, any member can open that target and commit a fleet to the coordinated attack — a single island is enough. Committed fleets are mustered at once (the troops cannot be used elsewhere) but hold in harbour: nothing sails, nothing is visible to the defender, and the missions list shows the fleet as Holding.
- Anyone can join, only the trusted can launch. The member who marked the target — or anyone whose alliance role grants the coordinated attacks permission (leaders and officers hold it by default) — reviews the voyage and gives the order. The same authority can stand the whole operation down, refunding every fleet.
- You always command your own ships. Before the order is given you can withdraw your fleet at any time for an instant refund. A committed fleet cannot be edited — withdraw it and commit again.
- On execute, everything above applies across the alliance. Travel is measured fresh from every member's harbour; fleets stagger out so the whole strike makes landfall together and fights as ONE army. Survivors sail home to their own islands and plunder is shared by each fleet's surviving cargo space — across members.
- Everyone gets the full account. Every contributing member receives a battle report naming every ally and every fleet; the defender learns which banner the strike sailed under.
A member who leaves the alliance (or is removed) has their holding fleets refunded; removing the target stands its forming operation down. Fleets already at sea always finish their voyage.
Battle Strength
An attacker's total strength is the sum of each unit's attack value multiplied by its count. The defender's strength draws on unit defense values, wall fortifications, and the settlement's intrinsic defenses. The side with the higher strength wins. Ties go to the defender: a scouted tie is a tactical error, not a stalemate.
Morale also weighs on both sides. If the attacker's happiness falls below 40, their battle power is reduced by 10%. If the defender's happiness falls that low, their defensive power also drops. At the harshest morale tier, each side can lose up to 45% of combat strength. The attacker's morale and shrine rites are sealed in when the fleet sails; the defender's are read when the blow lands — see "When the bonus is counted" on the Shrine page.
Before sailing, an attacker can also load mission goods from the Workshop. A War Drum stiffens the assault (a small boost to attack strength, up to three per attack); Swift Sails shorten the voyage (a faster fleet, useful on attacks, raids, and cargo runs alike). Like shrine rites, these are sealed in when the fleet sails and are spent on launch — they are a deliberate "special voyage" investment, not something every fleet carries.
Casualties
The loser's army is destroyed entirely — with one exception for a badly outmatched attacker (see Punching up below). The winner's losses are proportional to how close the fight was. Crushing wins are cheap; narrow wins are costly.
- A crushing win against a defender with about 10% of your strength costs about 10% of your force.
- A narrow win against a defender with about 90% of your strength costs about 90% of your force.
- Walk-in. Against an empty garrison there is no fight: the attacker takes zero losses, plunders, and (if catapults are aboard) razes buildings. Wall and base-island defence apply only when there's a garrison to protect.
- Defender losses are split proportionally between stationed units and any allied reinforcements, so each contributor takes a fair share of the casualties.
Near-tie wipe
When the loss ratio is 0.95 or higher, the two armies were within 5% of each other in strength. The loser's army is fully wiped, with no per-unit-type rounding remnants. Without this rule, a defender holding by 1.7% would end up with one of each unit type left over, such as one archer, one swordsman, and one stone thrower. That is rounding noise rather than a "tattered defence". The 0.95 snap turns a near-tied battle into a clean catastrophe: decisive force still matters, the meta is unchanged, the report is legible.
The 1-unit rule
When a single unit sits at round(1 × loss_ratio), the result is simple: under 50% it rounds to zero (the unit survives); at 50% or above it rounds to one (the unit dies). No "lone hero" loophole, no "one arrow kills a hero ship" exploit.
Punching up: the survivor floor
There is one exception to "the loser's army is destroyed entirely". When you attack an island far stronger than your fleet and lose, a remnant limps home instead of being wiped to the last soldier. The floor begins once the defender's effective strength — garrison, wall and base-island defence together — is at least twice your attack, and it grows the more hopeless the odds: from nothing at the 2× line up to a cap of half your fleet returning against overwhelming defence. It never turns a loss into a win, and it does nothing for a close fight — a near-even defeat still costs you everything.
Ships come home ahead of the soldiers they carried (the same carrier discount described under Ships as carriers below), so a beaten landing fleet keeps more of its hulls than its infantry. A losing colonisation run is the one exception the other way: the colonisation ship is always spent on a failed colonise, floor or no floor. The point of the floor is that probing a fortified neighbour — or grinding down an abandoned island — no longer means losing your whole army every single time.
Ships as carriers
When your fleet mixes land units and ships, the ships take a reduced share of the land loss ratio, proportional to how much land power they're carrying. Land power means every non-naval attacker, so it includes both infantry and siege units (catapults).
- Pure naval fleet (
land_fraction = 0): ships take the full land loss ratio. The carrier discount only applies when there's land power on board to protect. - 100% land (
land_fraction = 1): ships take 25% of the land ratio, the maximum protection. - Mixed: linear scaling between the endpoints. A fleet that's 50% land power by attack value gets a 0.625 multiplier on its ships.
- A single token unit cannot unlock the discount. One spearfighter in a 1,000-warship fleet gives a land fraction of about 0.0003, which produces effectively no protection.
This includes colonisation ships: they withdraw offshore alongside warships once troops disembark. The fiction: ships only take losses when the beach assault goes badly enough to drag them in.
But the sea cuts both ways. If every troop-carrying ship in your fleet is sunk, the surviving landing force has no way home — they are lost with the fleet, drowned or stranded on a hostile shore. As long as even one warship or merchant ship survives, your whole surviving land force piles aboard and sails home, however many they are. Spy ships and the colonisation ship cannot carry troops back, so a fleet whose only survivors are those hulls still loses its soldiers. The lesson: never send troops on a single hull you cannot afford to lose.
Defending a Settlement
Every settlement has a base defense of 50. Even an ungarrisoned island offers some resistance. Beyond that, defense is shaped by three factors:
- Garrison: units stationed on the island contribute their defense values. A unit's attack stat only matters when sent on raids or assaults, not when defending. Allied reinforcements count too.
- Stone Wall: each level multiplies the defense of all defenders by an additional 5%, and adds 10 intrinsic defense on top.
- Watch Tower: detects approaching fleets and provides advance warning. Higher levels reveal more detail about incoming attacks, giving time to prepare.
In practice, this means wall upgrades strengthen both the garrison and the settlement's standing defenses.
How much defence does each wall level add?20 levels
| Wall Level | Defense Multiplier | Intrinsic Defense |
|---|---|---|
| 1 | 1.05x | 10 |
| 2 | 1.10x | 20 |
| 3 | 1.15x | 30 |
| 4 | 1.20x | 40 |
| 5 | 1.25x | 50 |
| 6 | 1.30x | 60 |
| 7 | 1.35x | 70 |
| 8 | 1.40x | 80 |
| 9 | 1.45x | 90 |
| 10 | 1.50x | 100 |
| 11 | 1.55x | 110 |
| 12 | 1.60x | 120 |
| 13 | 1.65x | 130 |
| 14 | 1.70x | 140 |
| 15 | 1.75x | 150 |
| 16 | 1.80x | 160 |
| 17 | 1.85x | 170 |
| 18 | 1.90x | 180 |
| 19 | 1.95x | 190 |
| 20 | 2.00x | 200 |
No retreat
A fleet that loses the battle is destroyed — unless it was badly outmatched, in which case a remnant limps home under the survivor floor above. Either way there is no mid-fight retreat: once the ships make landfall, the outcome is decided, and you cannot choose how much of your fleet survives. The hedge against "I'm going to lose" is scouting, fleet composition, or recalling a fleet before it arrives.
Two quieter ways to strike
Everything above is the assault — the pitched landing where one comparison of strength decides all. The Attack menu holds two quieter choices, each with its own page: a plunder run slips into the harbour and lifts the stores without a battle, and an intercept loiters offshore and robs the cargo convoys passing through. Neither ever leaves a name behind.
Size and your name
The assault, plunder, colonise and combined-attack screens end with a Matchup row: a punch-down, an even fight, a punch-up, or fair game. A raid on an ownerless shore shows only its Honour; a garrison, a moor, a descent, a claim and an intercept are never judged and carry neither. A punch-down on a far smaller realm that still plays costs you Honour, brings less of the haul home, and is seen: Unsigned Sails hides a raider among equals, not a giant among fishermen, so a punch-down assault carries your name, a combined one included. The row's "?" gives the exact Honour change before you send.
The defender's answer: a patrol
Plunder, blockade, and assault all reach you across open water, and a patrol is how you meet them there. From the Fleet tab you commit warships to stand watch in your own island's waters, where they turn raiders and spies away, fight blockades loitering off the coast, and screen a landing before it ever touches your shore.
Only small warships can hold this close in: the larger hulls draw too much water to work the shallows. How many you may commit is set by your Harbour level, and a patrol stands until you recall it, with no fixed window. Holding station off your own shore is itself a discipline: an island can only raise a patrol once it has studied The Harbour Watch in the Seafaring branch of its Laboratory, and each island that means to guard its waters must study it for itself.
Crew Grit is the watch's edge, and it dulls with days at sea. It starts full and fades toward nothing if a patrol is left standing too long, going stale and ceasing to scare anyone off. How fast it fades depends on the island it guards: a small, low-prestige outpost wears its crew slowly, holding a usable edge for the better part of a week, while a grand, high-prestige island burns through that same edge in two to three days. The bigger your island, the more often you must recall the patrol and raise it fresh to sharpen the crew again.
A patrol is not a free fortress. Its edge wears down with time as Crew Grit fades, and its ships can still be lost in blockade fights or sea screens. A lone spy ship is waved off at no cost, sailing home with only a rough count of the watch it ran into. Plunder is not an automatic ship spend either: the patrol instead pushes down the raiders' getaway odds, with Crew Grit deciding how much of that pressure still matters.
Calling a patrol home is not instant. It stops guarding the moment you recall it, but its surviving ships take an hour to sail back into the garrison, so you cannot pull them in to dodge an incoming blow on the same tick you spot it.
How a patrol fights depends on what comes at it. A spy it turns away with no battle and nothing taken. A quiet plunder run it pressures through the getaway roll, strongest while its Crew Grit is fresh. A loitering blockade it engages once, at sea — and whoever wins that fight, the blockade turns for home. A full assault it meets in a sea screen before the land clash: your warships against theirs in the shallows, where a beaten escort can cost the attacker the whole army it was carrying.
When a patrol meets a blockade, you are told how it went — whether your patrol held or was sunk, how many hulls the fight cost you, and how many of theirs went down. Either way, a blockade that has been fought is over: it withdraws with whatever it has left, so you pay for the fight once, and a fresh patrol raised afterwards meets nothing. A patrol that dies driving the raiders off has still done its job; if you would rather win these fights than merely end them, the Harbour sets how many hulls you can commit. The report never names who sent the blockade.
A creature is not a battle
One of the Risen standing off a shore is not a settlement, and none of the rules above reach it: no walls, no defenders, no odds, no plunder. It carries a row of marks instead of an army, only the matching doctrine shot takes one, and a single strike takes at most one mark whatever you send. The shot, the chase and the curse it lays are all on The Lumen Rupture.
Rules of Engagement
Not every settlement may be targeted. The following restrictions apply:
- Alliance members are protected from attacks by their own.
- Friends are protected too: a Governor in your contacts as a friend cannot be attacked, plundered, colonised or blockaded, though you may still spy on them. The one exception is a friend's ships standing on a sea rock, which can be raided like anyone's (see Oceans).
- Newly arrived Governors are shielded by sanctuary for their first 7 days. No attacks, raids, colonisation, or espionage may target them.
- Sending a hostile fleet against another Governor's island — an attack, plunder, colonisation, or blockade — forfeits that shield the moment it sails. Scouting does not: spies may be sent freely, and settling an unclaimed shore costs nothing.
- Shuttered isles turn fleets away. You may still send ships, but they find the gates barred on arrival and sail home empty — no battle, no losses.
- A held island that is freed while your fleet is at sea — its holder driven out by another wave, perhaps your own — turns attack and raid fleets for home with no battle and no losses. Colonisation fleets still land: a freed shore may be settled.
- Battles against settlements with no stationed troops do not count toward either side's war record. Plunder and building damage still apply, but the engagement is not recorded as a war.
Raiding Unclaimed Shores
Unclaimed islands can be raided for stores, but they are not free prizes. Wild guardians defend each shoreline, and even victorious crews may suffer withdrawal losses. Repeated strikes diminish returns, and fleet composition matters more than raw numbers.
Unclaimed shores have no Storehouse, so the protection table above does not apply — the shore's full stockpile is on the table, capped only by the cargo space of the surviving fleet.
See the full Raiding guide for resource tiers, attrition tables, diminishing returns, treasure mechanics, and fleet strategy.
Siege and Razing
After a successful assault, the surviving 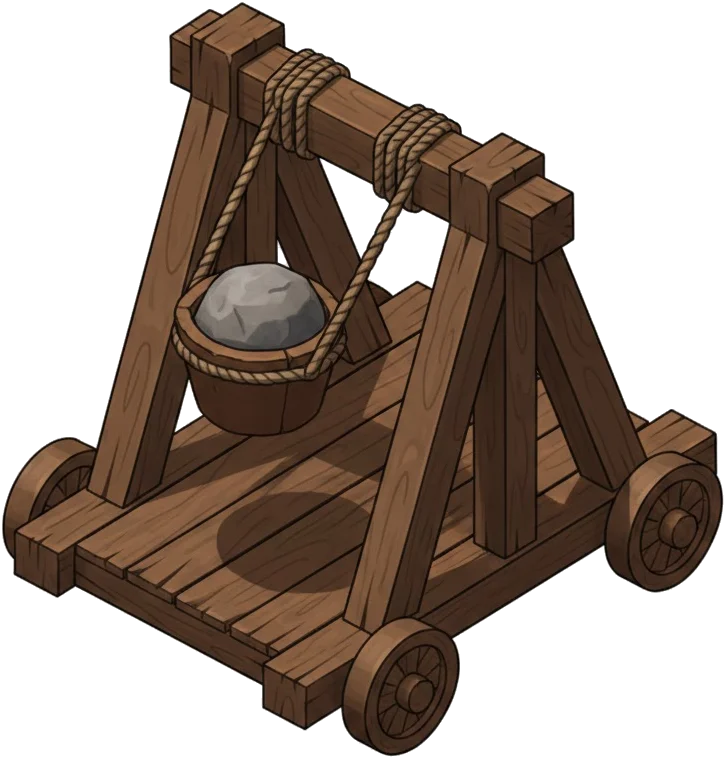 Catapults knock levels off the defender's buildings. The cost is counted in siege points, not percentages, so a wave that falls one short of the next level does nothing extra.
The arithmetic. Each surviving catapult adds 1 siege point to the wave's pool. Knocking any building down by one level costs a flat 10 siege points. So 10 catapults topple one level, 20 catapults topple two, and so on, until the overflow rule kicks in.
- Catapults only deal damage when the attacker wins the battle.
- Siegecraft research multiplies the whole pool, not each catapult. Every level adds +10%, capping at 2.0x at full research. At the cap, 5 catapults are enough for one building level.
- Barracks-gated production. An island can stockpile up to 50 catapults per Barracks level (e.g. 500 at L10, 1000 at L20). A realm-ending siege wave needs catapults pooled from multiple islands. A single workshop-rock cannot field one.
- Every level costs the same. 10 siege points bring down one building level — any building, any level. Ten catapults destroy exactly one level; a hundred destroy ten, up to the per-wave cap.
- A wave can take at most 5 levels. Anything your pool could have bought beyond that is wasted — it does not carry into the next wave. No single arrival can flatten a developed island; that takes patient, repeated pressure.
- When the pool cannot afford another level, the siege halts and the report tells you the exact shortfall. No silent failures, no half-damaged levels.
- Targeting is deterministic: defensive walls first, then watchtowers, kennels, barracks, production buildings, then civic buildings. The report shows the priority trace.
- Against a Black Tide holding, the hall comes first. Every catapult goes into the Tide's main house until it falls, ignoring the usual order, because that hall is what holds the island. See The Black Tide.
- On a capital (starter) island the main house is never targeted by catapults unless its owner has been Forsaken (14+ days absent), in which case any attack that razes it liberates the capital to a protected empty starter and strikes the absent Governor from the world. On any non-capital island the main house is fair game: any attack mission may raze it to level 1, no matter how active the owner is. A plain attack that razes it (liberation) returns a colony to the wild without the attacker taking it; a colonisation mission instead transfers the island to the attacker (see Colonisation). A Governor's last island is only liberated once they are Forsaken, so conquest alone never erases a player. One attacker is barred from the hall altogether: the Black Tide's waves never damage a Governor's main house.
Striking the neglected leaves no name
There is a difference between being caught and being named. When an island has fallen into deep neglect — blighted on the map, its keeper no longer watching — a strike against it goes unwitnessed. Any assault, raid, or plunder on a badly neglected island is anonymous: the defender's report says only that the raiders came and went unmarked, with no one left on a blighted shore to read their banners, the world Chronicle records "an unknown force", and your deed never touches the public boards. Your crew may still be turned back, but your banner is never seen. This costs nothing and needs no rite — unlike Unsigned Sails, which buys the same silence when you strike a tended island, unless the assault is a punch-down. Because such a strike carries no name, it never starts or feeds a war, and it earns no place on the raiding or conquest boards — glory is the price of anonymity. Your own alliance, however, still sees your hand in it on the alliance feed. It is the quiet way to liberate an ally's rotting island, or to sow chaos without ever answering for it.
This silence covers a combined strike whole. When several harbours — or several allies under one coordinated attack — fall on a badly neglected island together, the defender's account names no one at all: not the fleets, not the islands they sailed from, and not the members who joined. No punch-down breaks it: a fight against a blighted island is never judged a punch-down, however large the gap. Unsigned Sails does not stretch that far. The rite is bought by one harbour, and a combined strike has many hands on it; against a tended island a coordinated attack is always signed, however many of its captains hold the rite. If you mean to strike unseen at a well-kept shore, sail alone.
Reference
What formulas drive casualties and carrier losses?combat formulas
The base casualty ratio is:
lossRatio = loserStrength / winnerStrength
losses = round(unitQuantity * lossRatio)
Carrier losses use the land share of the fleet:
navalLossRatio = lossRatio * (1 - 0.75 * landFraction)
landFraction = landAttackPower / totalAttackPower
A losing attacker keeps a floored remnant once the defence is at least twice its strength (lossRatioRaw = attackStrength / defenceStrength ≤ 0.5). The share that survives ramps linearly from 0 at the threshold to a 0.5 cap as the odds worsen, and ships take the same carrier discount, so they are spared ahead of land troops:
attackerSurvivorFraction = clamp(0.5 - lossRatioRaw, 0, 0.5)
attackerLandLossRatio     = 1 - attackerSurvivorFraction
attackerNavalLossRatio    = attackerLandLossRatio * (1 - 0.75 * landFraction)
How much damage does a siege wave do?catapult cost
Every building level costs the same flat 10 siege points, whatever the building and whatever its level:
levelsDestroyed = min(pool / siegePointsPerLevel, maxBuildingLevelsDestroyedPerWave)
So 50 siege points is all one wave can ever spend — enough for the cap of 5 levels. Bringing more catapults than that does not destroy more in that arrival; the surplus is wasted and does not carry over. Grinding down a developed island means sending wave after wave.
A pool under 10 siege points does no damage at all, but the battle report still names the exact shortfall so you know what a stronger force would need next time.
Common questions
Can I retreat after the fight starts?
No. Recall fleets before arrival if the target changes. Once landfall happens, the battle is resolved immediately.
Do empty islands still defend themselves?
A settlement has base defence, but an island with no garrison causes no battle losses. Wall and base-island defence only matter when defenders are present.
Why did my ships survive better than my troops?
Ships carrying land power take a reduced share of losses. The more real land power aboard, the more the carrier discount protects the hulls.
My fleet was wiped out but my troops won — why did they not come home?
Troops need a ship to carry them back. If every troop-carrying ship is sunk, the survivors have no way off the shore and are lost with the fleet, even if they won the fight. One surviving warship or merchant ship is enough to bring the entire landing force home — so the risk is only real when you sail with a single hull. Spy ships and colonisation ships do not count; they cannot carry troops back.
Is there a sea battle first, then a land battle?
No. The clash is a single comparison: every ship, soldier, and catapult you sent is counted against the defender's full garrison, wall, and base-island defence at the same time. Naval units are not fought separately. They simply take a gentler share of the losses when land power is aboard. Siege and plunder follow the clash, in that order, only if you win.
In what order does a battle report happen?
Arrival checks, then the clash, then siege, then plunder. A report you can read top to bottom: who fought and what it cost, what your catapults broke, and what your holds carried home. A lost landing stops at the clash.